Saturday 24 November 2012

Replacing handrail

We're getting through the second fix upstairs now and during this week I've replace the old handrail with some that matches what is in the rest of the house.
What was left of the old handrail
 I decided it was best to rip it all out and start again, this way I could make sure I got some solid fixings and make sure it won't move.
Ripping it all out and starting again
The first job was to add the newel post at the top of the stairs. This one had to be strongly fixed as it's what everyone will grab and swing on as they walk down the stairs. The old newel post ran right down to the floor, so I cut it off flush with the top of the stairs and then made a 12" long halving joint to fit the new newel with. As the old post was 3"x3" and the new one is 4"x4" I had to make this halving joint more like a giant L shaped rebate so it would fit over the top of the old post, glued and screwed it was rock solid when I finished.
Adding the newel post, this has to be solid
 The rest was fairly plane sailing, the newel posts already had mortises in them but the tenons on the handrail had to be added on, taking a bit of time (I did these by hand as it's sometimes easier this way), I fixed all the handrail and newels in position then replaced some of the flooring and added the spindles. The flooring I replaced so it finished in line with the new newel posts, it also had a round over moulding on for the apron lining to butt into, giving a nice detail. By doing this all my spindles could also be fixed from the underside giving a much better fixing.
The finished handrail from the top

It was then a matter of adding the apron lining and doing all the finishing touches like pelleting the screw holes, sanding them down and punching in any nails. The bottom of the old newel post also had to be packed out so that it was the same size as the new one


I decided at the start to replace the apron under the handrail as well and it looks much better all being new

The joint connecting the new newel to the old post.
Anyone else had a hand railing project they've done lately?

Sunday 18 November 2012

Making Single Glazed Windows Into Double

I'll be honest - this wasn't a job I was looking forward to!
The customer wanted the 5 windows on the exposed face of his property to be changed from single glazed to double. As the windows were hardwood, of good quality and thick enough, we decided that it would be best to increase the size of the rebate (or rabbet for the Americans) where the glass sits so it could take the thicker units.
Working on the wrong side of the heater!
 This is a bit of a dirty job really every step involves dirt and dust! First we had to remove the old glass from the windows, this was done with a combination of chisels, knifes, the multimaster and a hammer! Cleaning up any broken glass before moving on to the next step.
Luckily I had Tim with me to help or it would have seemed a bit of a daunting job on my own as you couldn't rust it for fear of damaging the frames.
Removing all the old putty
Once we'd removed all the glass and cleaned up the old putty from the edges I could set about making the rebate deeper. My new little Bosch router (bought mainly for this job) was ideal as it has such a small base it could get round all the edges without hitting the walls. It was tricky to find a rebate cutter for the router with the right sized bearing to give us the correct width of cut, the ones in the set were either too big or too small but luckily I had a bearing from an old router bit set that was just the right size (shows you should throw nothing out!).
My new little router was ideal for this job - still had to have a steady handso as not to wobble
 Once I routed round each window, three of them having 16 panes of glass (this was a dusty job - I had sawdust everywhere - and I mean everywhere!) it was just a matter of tidying up the corners with a sharp chisel. I had to be careful when routing as a lot of the time the router was just resting on the thin mullion or transom and a wobble would have been really noticeable.
Cleaning up the waste in the corners
I then made some templates for the new glass and boarded up the windows.
A dirty job, but one that will make the house feel a lot warmer on this exposed site when the new glass is fitted.

Wednesday 14 November 2012

Completed Curved Architrave (almost)

The underside now re-skimmed and the architrave filled and painted
The Plasterer, Justin, has now re-skimmed the curve under the architrave to a mirrow like finish and the woodwork has now had it's first coat of undercoat. So although it's not completely finished it gives a good idea of what the finished product will look like.

Justin the plasterer trying to show off the "guns" under the freshly coated arch

A near mirrow finish on the plasterwork sets the architrave off great, just a couple of coats of paint needed then it'll be finished.

Good feature for the room

Wednesday 7 November 2012

Fitting Skirting To A Curved Wall

I always like doing the out of the ordinary jobs on site. I like it even more when other trades have to ask you how you did it!
A relatively tight curve
This was the case with some skirting I fitted to a curved wall today. It was quite a tight curve and it wasn't a quick job to fix it on, but with a bit of preparation I got the skirting to perfectly match the curve of the wall.
Kerfing out the back of the skirting, as the curve was tight I needed lots
How's it done? Well you can read any good book on carpentry and it will tell you about "kerfing" the back or front of a board to make it bend round a curve. But until you try and do it you yourself you'll never know if you can do it properly or how close the cuts will have to be. A kerf is the width of material removed by the saw blade, adding lots of these evenly lets the wood bend a certain amount.
A good, even curve
This curve was quite tight and as the skirting had a moulding on it I could only trench the saw so deep on the first pass, I "kerfed" the back of the skirting for the length of the curve leaving a 2mm bit of wood in between each cut. I then trench cut deeper at the base of the skirting where it was thicker to remove even more wood. I then removed some wood from the back with the electric plane to try prevent it from cupping as all the tension had been taken out of one side with the cuts.
A job that when it's done right looks really good
To fit it to the wall I first fixed the short straight run, then started to bend it round the curve. To make the wood bend easier I first poured some boiling water on the back and trickled it over the skirting as I bent it round until I could get a fixing on the far side. I then added plenty of fixings to prevent it moving when it drys out.
Another enjoyable, usual job.
Anyone else have to fix curved work lately?

Sunday 4 November 2012

Making Curved Architrave

The main job I've been on has given me plenty of unusual projects where I've had to do some thinking. Curved architrave around an arched opening is the latest one.
I formed the arched opening some months back where the curve was to be semi-segmental, but since then the customer has changed their minds and decided that they want it to be semi-circular. I'm to build the architrave out and then we're to bring the plasterwork out to match at a later date.
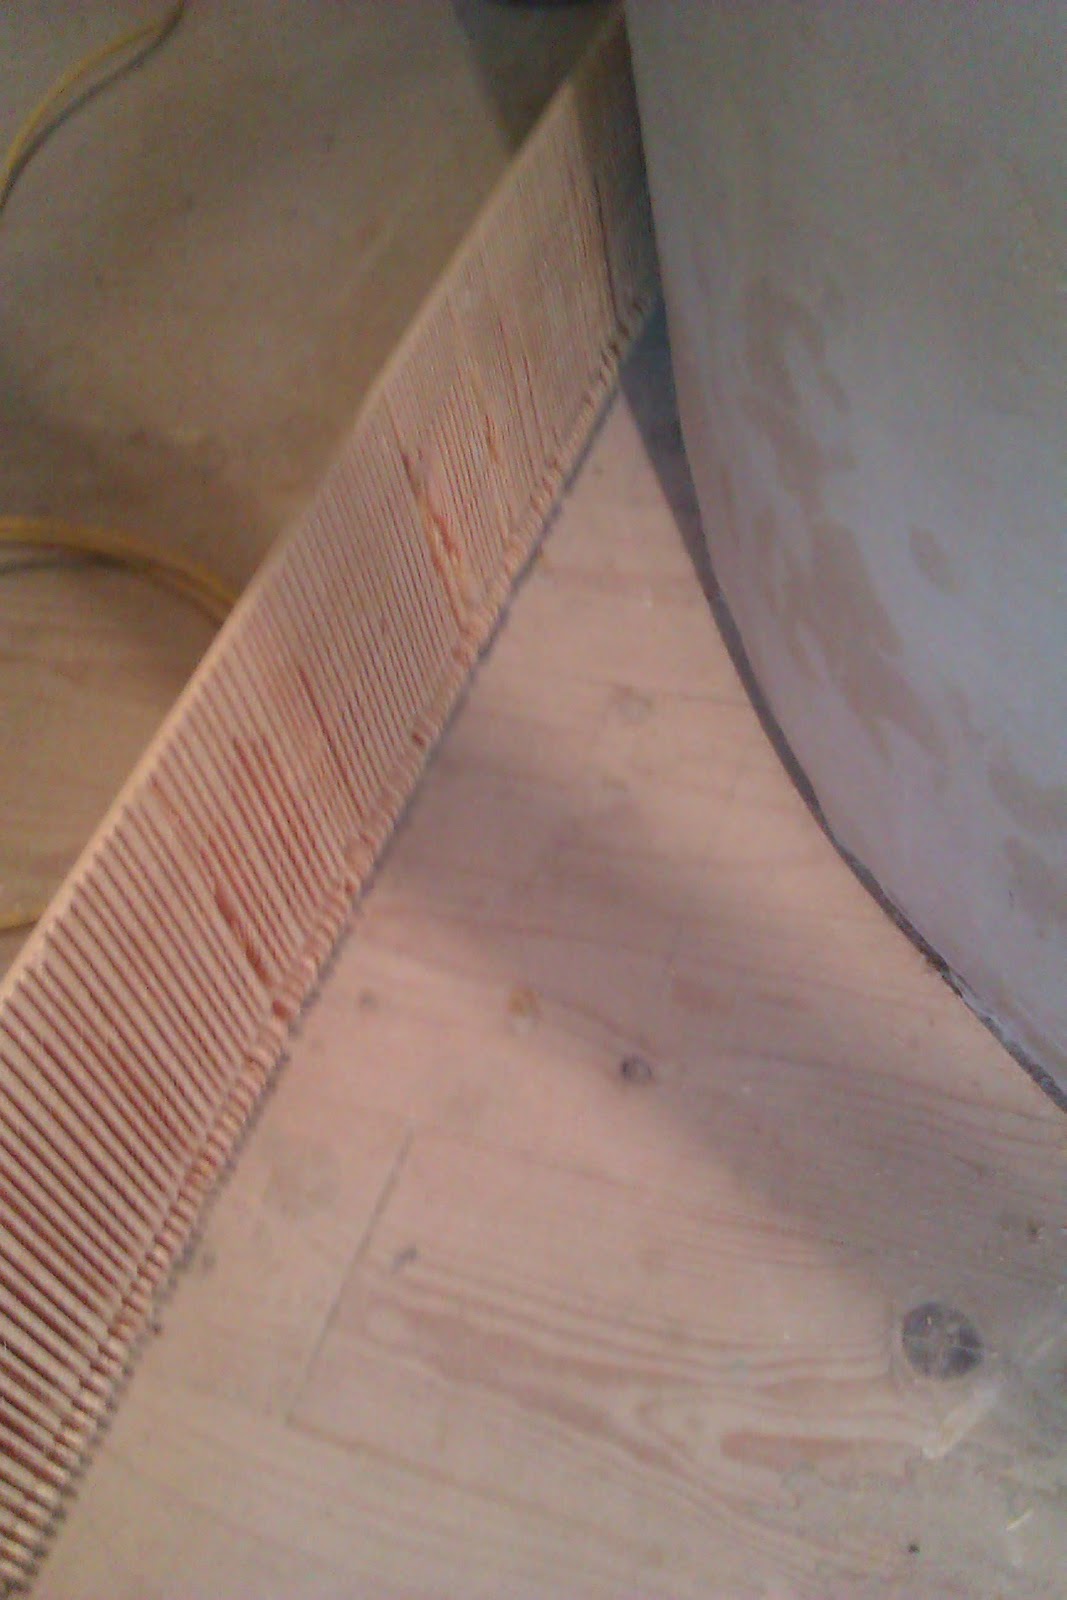
Clamping boards up - the red light is from the heater.
 Making anything curved on site is harder than you might think and involved many more steps than putting architrave around your standard square door frame.
The architrave has to match the original architrave mentioned in a previous post. This is built up out of two parts. A thin flat layer with a bead on, then a narrower moulded section that is fixed to the outside of it.. To start to make the curved architrave I had to make the flat section first. I decided to leave the bead off for now and attach that later, as no router cutter would shape it in the same way as it is on the original (two cove cutters wouldn't look quite right). I planed the timber down then clamped boards up together and left them to set (with a heater chucking some heat on to them - the barn isn't very warm!).
Rough cut with a jig saw
 I then rough cut the curve with a jig saw. Drawing the lines on with a homemade compass and pencil. If you were just making one side of something curved you might be able to cut it free hand but any imperfections and flat spots would stand out on what is to be matching sets.
Using a homemade router jig
 To make sure every piece was identical I made a jig for the router with two points for it to be fixed to for each cut (inside and out). I screwed the wood down to prevent it moving while I routed it. The screw holes on this first piece will be covered by the second set of architrave.
The first layer fixed around the arch.
I then fixed this architrave around the arch using plenty of adhesive and pins.
Same jig but with another point to make a narrower set of architrave.
 The second set of architrave used the same jig but with the addition of some extra points to fix it down. I also routed a large groove in the ply base of my jig so a bearing guided cutter would then run against it to create the moulding without having to take it off the ply. I used my larger router for this and as the cutter was new it cut the moulding cleanly in one pass.
The second set fixed on top of the first
 I then fixed the second set of architrave on top of the first and switched the kettle on. This wasn't for a drink but instead to fill a 4" pipe full of hot water. The only way I could think of bending the beading to fix round the first set of curves. This involved leaving the wooden bead in the pipe to get hot and steamy before running up stairs to fix it on. I had to move pretty fast as it soon cooled down, it also had to be in quite short sections so it didn't twist as I fixed it. Only managed to complete one side last night though as it got too dark and the lights weren't working on site.
It was dark when I took these pictures but I'll get some close ups next week. The beading is fixed on these as well. It also needs a good sanding down.
A couple of day of firsts - Never made curved architrave before and I've never bent wood using hot water.
I really enjoyed the challenge of this project, even though many people won't know the effort that went into creating a seaming simple set of architrave. I love the fact that after over 10 years in the trade there are still completely new projects to test my skills and keep my brain working, I can't think of a more enjoyable job than being a carpenter!
Related Posts Plugin for WordPress, Blogger...